
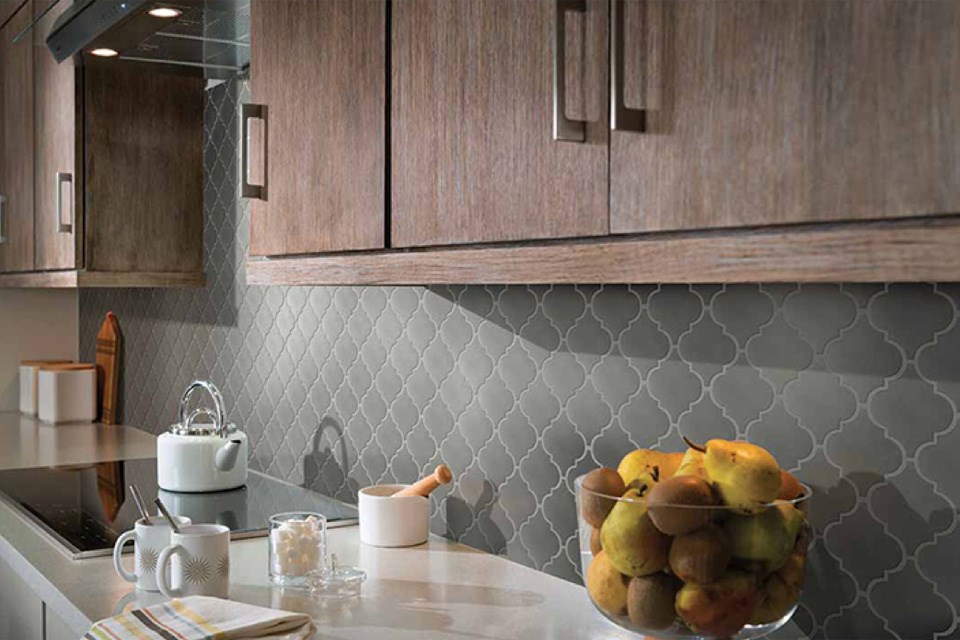
If your kitchen feels like it is missing something, it may be time for a quick renovation. A tile backsplash is an easy DIY project that can add colour and style to the kitchen.
Preparing for the tiling
Move everything off the counter, disconnect and move any appliances and ensure that there is nothing in the area. Find an old towel or blanket and cover the counter to prevent damage. Tape the bottom of the counters to protect them. The primary thing to remember, if there is an electrical outlet where the backsplash is going, turn off the power and remove the cover plates.
Destruction before moving forward
This can be the fun part of the project. If there is already tile on the wall, take a chisel and hammer (masonry hammer preferred) and begin to chip away the old tiles. It feels great seeing the old tiles pile up. When the tiles are removed, if there are any holes in the wall it is time to patch the wall with spackle. Make sure that you sand the spackle.
If you are adding a backer board (to give your tiles more durability and resistance to moisture), remove the drywall. Place the backerboard into the space and ensure that the thickness is the same as the kitchen drywall. Seal the gaps with a silicon and add mesh tape, then another layer of mortar.
Tile time
Pre-place the tiles in the area. Line them up where you want them to start; this is important if you are keeping a pattern. You will need to cut the tiles to fit; if you are using ceramic or porcelain tiles, a tile cutter will work fine. If you are using any stone tiles, a wet tile saw will be needed. A tile nipper can be used for circular cuts.
Mortar time
Follow the instructions on the package to ensure that you have the best mixture for your mortar. Do not start this step until you are ready as there is a limited time to use the mortar. Mortar is usually mixed in a bucket and stirred with a drill and mortar attachment. There are a variety of colours and styles of mortars, ensure that they are compatible with your tile.
Apply the mortar with the flat side of a trowel. Usually a 45 degree angle works best.
Finishing up
Place the cut tile into the area with the mortar. You may need a tile spacer to ensure that there is enough space. Let the tile dry on the mortar for about 24 hours. Grout around the edges and the adjoining areas to seal the backsplash. When the grout is dry (another 24 hours), take a damp cloth and wipe the area clean. Use a tile sealer to prevent staining on the backsplash. If needed add some caulking between the counter and the backsplash.
Conclusion
This is a DIY project that can be done in a weekend. Before starting any project ensure that you have the right tools for the job including safety googles and gloves. Enjoy the time shopping for tiles for your kitchen. When the job is complete pat yourself on the back for a job well done and celebrate by using the kitchen and your new backsplash.


